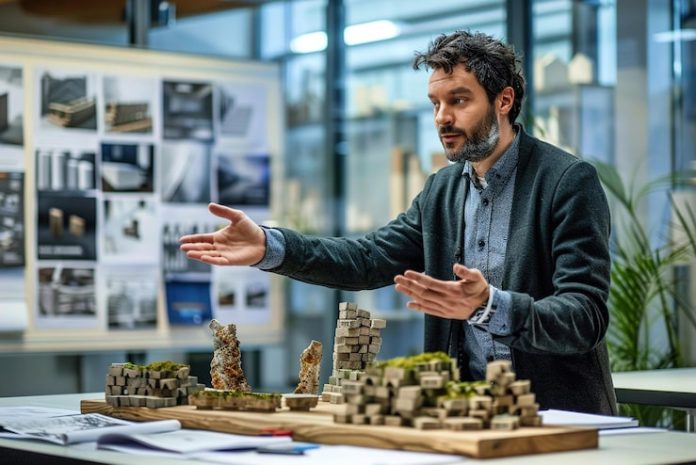

There is a shelf in many engineering departments that nobody dusts and everybody visits. On it sit a few old models: a bridge with a cracked deck, a dam section made of plaster, a turbine blade cut from aluminium. They look a little tired. But ask any senior engineer about them and you will hear a story, usually about the day the model showed something the calculations had missed.
That tradition is far from dead. Software has made analysis faster, yet an engineering scale model still does things a screen cannot. It can be held, tested, dropped, shown to a client and carried to a site meeting. It makes an abstract design feel real.
This article walks through the main uses of such models, the practical issues around scale, and what to prepare before approaching a maker.
Why engineers still build models
The simplest reason is intuition. Numbers tell you that a bracket will carry a load, but a model lets you see how the load travels and where the weak points are. Young engineers learn a great deal from handling one, and experienced ones catch details they might otherwise skip.
Communication is the second reason. Engineers rarely work alone, and the people who approve budgets or sign permits are often not engineers. A model gives everyone the same picture, which removes a lot of misunderstanding. When a manager can touch the thing being proposed, the discussion moves from whether it makes sense to whether it should be done.
The third reason is testing. Not every model is meant for looking at. Some are built to be loaded, shaken, flooded or placed in wind. These test models are designed with different priorities from display models, and mixing the two up is a classic mistake that we come back to below.
Structural and civil examples
Civil engineering has used models for as long as it has existed. Bridge models help designers visualise how a deck, piers and cables fit together, and how the bridge sits in its surroundings. Dam and barrage models show gates, spillways and the way water would move through the structure. Tower models, tunnel models and flyover models are common at project presentations.
For display, scales between 1:50 and 1:500 are typical, depending on the size of the structure. A bridge that is a few hundred metres long may be shown at 1:200 so that the whole span fits on a table. A tunnel junction might be modelled at 1:50 so that the lining, ventilation shafts and cross passages are readable.
Sections and cutaways are very useful here. A dam cut through its middle shows the core, filters and foundation. A building frame with some panels removed shows columns, beams and bracing. These cut views are hard to understand in a drawing, and they come across at once on a model.
Models for proof of concept and early prototypes
Many inventors and start-ups use models before they commit to full-scale production. A proof-of-concept model might not work like the final product, but it shows the idea well enough to attract support. It can answer a few basic questions: does the mechanism fit in the space, does it look like what we imagined, and can a user operate it?
A good engineering scale model built at this stage does not need to be perfect. It needs to be accurate in the places that matter to the discussion and simple elsewhere. If the point is to show how a folding frame deploys, the hinges and joints need care; the paint finish can wait.
Be clear about the purpose when you brief the maker. A model meant for a patent drawing, one for a funding pitch and one for a lab test will each be built differently. Telling the maker what the model has to prove saves money and avoids disappointment.
Understanding what changes when you scale down
Here is a point that trips people up. When you shrink an object, not everything shrinks equally. Lengths scale by one factor, areas by the square of it, and volumes and weights by the cube. A beam reduced to one tenth of its length has one thousandth of its weight, but only one hundredth of its cross-sectional area, so it is proportionally much stronger.
This is why a display model that looks right can behave nothing like the real thing under load. A thin plastic bridge may carry far more than a scaled-down version of the real steel one would, simply because the physics of scale is working in its favour. Fluids, heat and vibration also behave differently at small sizes.
If you need a model to predict real behaviour, you must use proper similitude rules and usually a specialist testing lab. A display maker can build the model to the dimensions required, but the testing design belongs with your engineers. Keep display and test models separate, and write down which is which, so no one reads more into a display piece than it can support.
Display models for tenders, exhibitions and classrooms
Tender submissions are a common use. When several firms bid for the same project, a clear model of the proposed design can help evaluators remember yours. It shows that the bidder has thought about the physical solution, not just the paperwork.
Exhibitions and trade fairs are another. A stall with a moving model draws more visitors than one with a poster, and the model lets sales staff start conversations. For this use, strong construction matters. Models that travel to a dozen events a year need strong joints, secure packing and a cover that can be wiped clean.
Colleges and training institutes use models to teach concepts such as load paths, hydraulics, surveying and construction sequence. Because students handle the models, they should be tough, with parts that are replaceable. Labelled sections and simple cutaways make them more useful in a lecture.
What to tell the maker before you start
A short, well-organised brief makes everything smoother. Include drawings, a description of what the model must show, the scale or size limits, the environment where it will be displayed, and whether it must move, light up or be taken apart. Mention how many people will handle it and how often.
Also list the materials you prefer, or the ones you want to avoid. Acrylic, aluminium, brass, wood and resin each have strengths. Some come with limits on weight, cost or finish. A maker can propose a combination that suits the purpose.
If you want to look at similar work before sending your brief, read through the examples on the maker’s page for an engineering scale model to see the range of finishes and details they offer. Bring two or three reference images of the look you want, and mention anything you dislike. It is easier to describe a preference with a photograph than with words.
Costs and timelines
Costs depend on size, complexity and finish. A simple demonstration model with a few parts may take a week or two. A large, detailed model with sections, lights or moving components can take six weeks or more. Ask for a quote that separates design work, fabrication, finishing and packing.
If your model is for a fixed date, such as a tender deadline or an exhibition, give the maker the date at the first conversation. Build in a buffer of at least a week. Shipping delays and last-minute edits are very common, and a calm timeline is a cheap luxury.
Materials that suit engineering models
Acrylic is the usual choice for clear parts, sections and covers. Aluminium and brass give strength and a technical look where parts carry load or need machining. Wood and MDF work for bases and larger structural shapes, and resin or 3D-printed parts handle complex curves and small fittings.
For models that will be handled often, think about wear. Painted edges chip, thin acrylic cracks under stress, and glued joints loosen. Ask the maker to use mechanical fasteners where parts may need to be opened up, and to leave a few spare pieces behind. A stronger build costs a little more at the start and a lot less over five years.
Labels, documentation and handover
A model without documentation is half useful. Ask the maker to supply a short sheet listing the scale, the materials, the key dimensions and any limits on handling. Include photographs of the model from several angles, taken before packing, so you can compare condition on arrival.
If the model will be used for teaching or sales, add simple labels or a legend board. A person standing in front of the display at an exhibition will not wait for an explanation. Clear, short text in two languages, where needed, makes the model work even when nobody is standing beside it.
Closing thoughts
A model is not a replacement for analysis. It is a way to bring engineering ideas out of the file and onto the table, where more people can understand them. Know what your model is for, tell the maker clearly, and respect the limits of scale.
Do that, and the little object will pay for itself many times over, in clearer meetings, faster approvals and fewer surprises on site.